Background and Header created by TLP Designz © TLP Designz - DO NOT REMOVE OR COPY. Powered by Blogger.
Blog Archive
Thursday, October 20, 2011
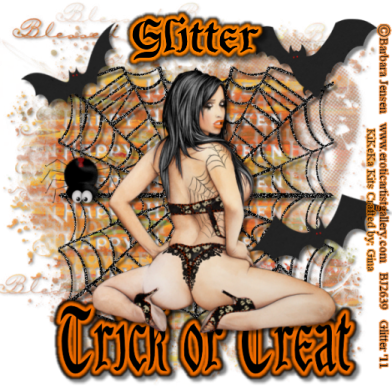 This tut is entirely of my creation. Any resemblance to others is purely coincidental.
Supplies:
Scrap kit: Spooky Mix by KiKeKa Kits which you can get HERE
Tube: I am using an awesome tube by Barbara Jensen that you can purchase HERE. Please DO NOT use this tube without a proper license and you have purchased it legally.
Mask: Vix_MaskHalloween0906 which you can find HERE
Scroll down to 27th October 2009 Masks 416-426 plus 2009 Halloween masks
Font: I used font Halloween_BeneCryptine which you can find HERE
Let’s get started.
I am writing this for beginners as well as the experienced tagger. There aren’t that many tuts for the beginners so I try to write all my tuts for the beginners.
Open new canvas 600 x 600 transparent.
cbg_spookymix_spiderweb01 shift+D Duplicate element. Resize 75% all layers checked. Resize 50% all layers checked. Copy and paste (c&p) web into new canvas. Resize web 50% all layers NOT checked. Move to the side.
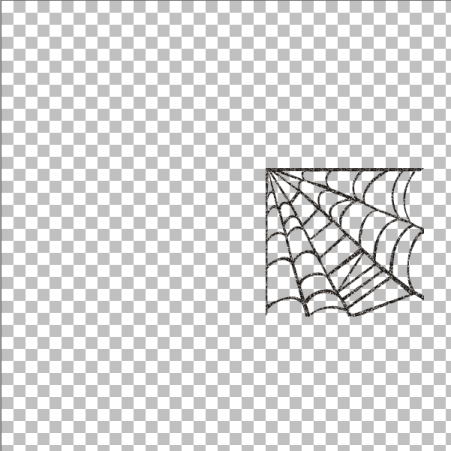 In layers palette Duplicate layer.
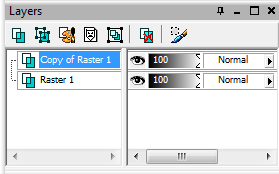 Image, mirror.
 Move web pieces together. Merge together.
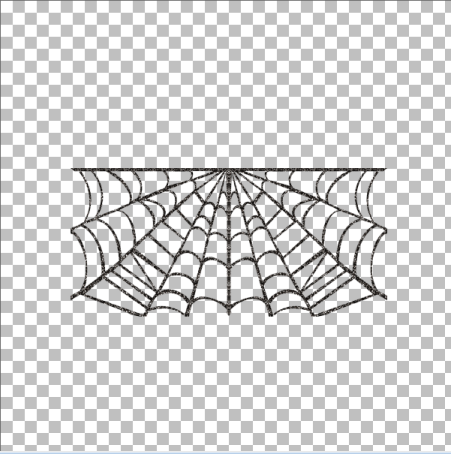 In layers palette Duplicate layer. Image, flip. Move web pieces together.
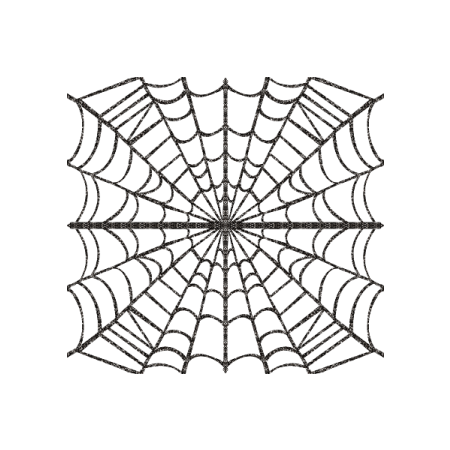 I like my web darker so:
Selections, select all, selections, float, selections, defloat, c&p black as new layer, selections, invert, delete key on keyboard, selections, select none. Adjust, Add/Remove noise, Add noise using settings below. Apply noise twice.
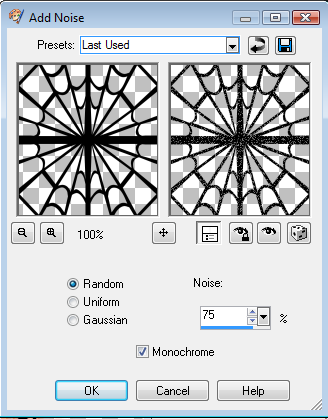 Set web canvas aside for now.
cbg_spookymix_paper02 Resize paper 22% all layers checked. Copy paper.
New canvas 600 x 600. Selections, select all, paste paper into new canvas. Resize paper 77% all layers NOT checked. Selections, invert, delete key, selections, select none.
Open Vix_MaskHalloween0906 in psp. Layers, new mask layer, from image. Layers, merge, merge group.
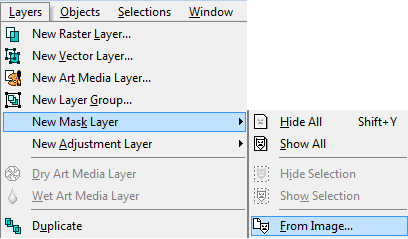 C&P web on top of mask layer.
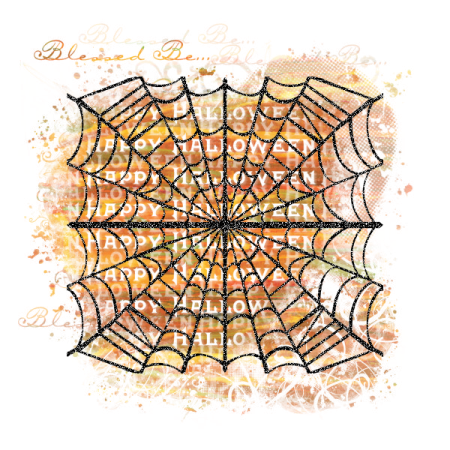 Resize the elements as follows:
cbg_spookymix_bat01 50% all layers checked
cbg_spookymix_bat02 50% all layers checked
cbg_spookymix_bat03 50% all layers checked
cbg_spookymix_webstring 32% all layers checked then 50% all layers checked
cbg_spookymix_spider02 87% all layers checked then 50% all layers checked
C&P all elements on top of web, resize and place to your liking. Set aside.
New canvas 600 x 600. Type out Trick Or Treat, or something else if you prefer, using font Halloween_BeneCryptine. Apply glow using image below as a guide.
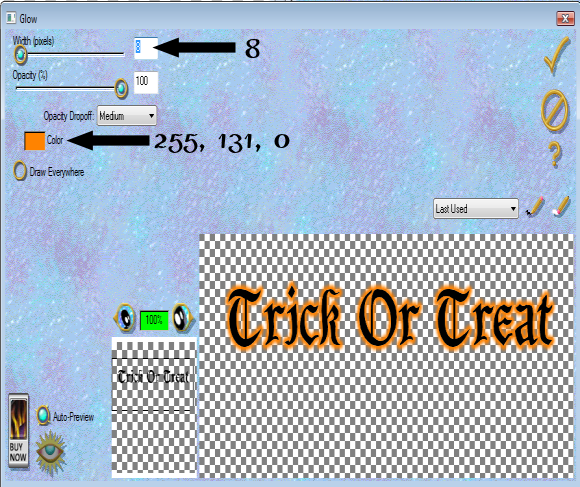 Selections, select all, selections, float, selections, defloat, selections, modify, expand by 3, c&p black, selections, invert, delete key, selections, select none. Place black under words. Add drop shadow as indicated below. C&P word art into tag.
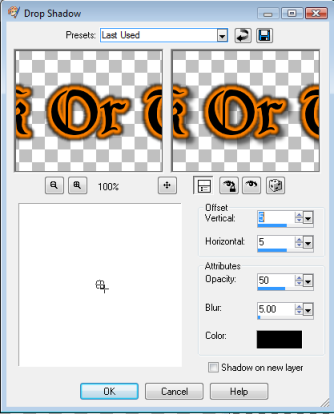 Add tube of your choice, resizing and placing to your liking. Apply drop shadow as before.
Add drop shadow as before to all element layers, including web. Add drop shadow of 2, 2, 50, 5 to mask layer. Merge visible. Resize tag 87% all layers checked.
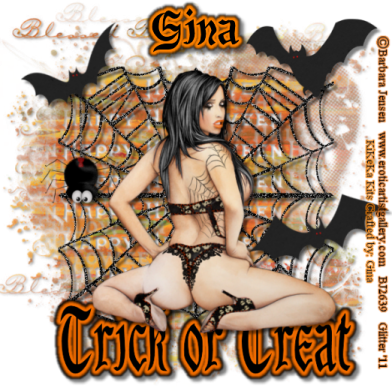
Add copyright info and watermark to tag. Save as jpeg or png as your template. Add your name using same font as for word art.
I hope you like my tut.
Subscribe to:
Post Comments
(Atom)
A note
I remember what it was like when just starting out in Paint Shop Pro. There are lots of wonderful tuts out there, but most of them are for experienced taggers. It is hard to find a tut if you are a beginner, so I will try to write all my tuts so the beginner can learn and follow along. There will be lots of screen shots to make it easier on you. I apologize to the experienced taggers, but I think that it is good to help out the beginners all we can. Thanks for understanding.


0 comments:
Post a Comment