Background and Header created by TLP Designz © TLP Designz - DO NOT REMOVE OR COPY. Powered by Blogger.
Blog Archive
Tuesday, March 29, 2011
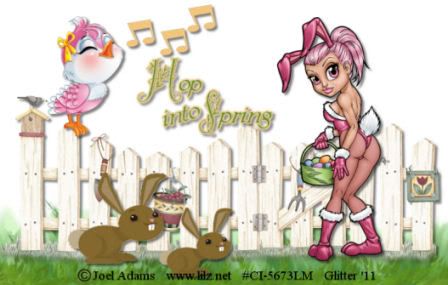
 Hop Into Spring
This is a simple and fun tut.
I used the awesome artwork of Joel Adams in my first example, which you can get at Creative Design Outlet.
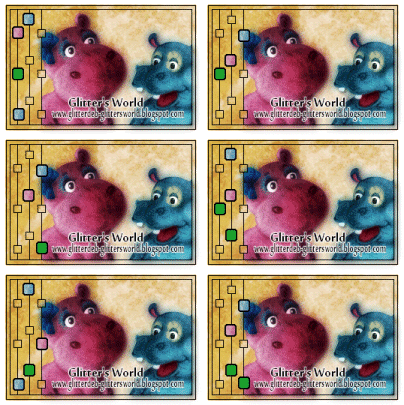
In my second example at the bottom I used the fabulous artwork of Keith Garvey which you can get at PSP Tubes Emporium.
Please use these tubes with the proper licenses.
The scrap kit I used is Hop Into Spring by Bratty at Pure Purrfection Creators Corner.
The font I used is Springtime Flourish.
Open the fence from the kit. Shift D to duplicate it. Close out the original. Resize by 97% so the fence is at 100%. Move down slightly.
Open paper 1. C & P (copy & paste) behind fence. Put the grass part down below the fence a little bit.
C & P tube of choice and resize 85%. Position to the right side, making sure you stay on the paper.
C & P Bunny, mirror and duplicate. Resize 1 bunny 55% and 1 bunny 45%. Position to the left side of tag.
C & P Bird, resizing 35%. Position on top of fence.
C & P Music Notes, resizing 15%. Duplicate twice and position up by bird.
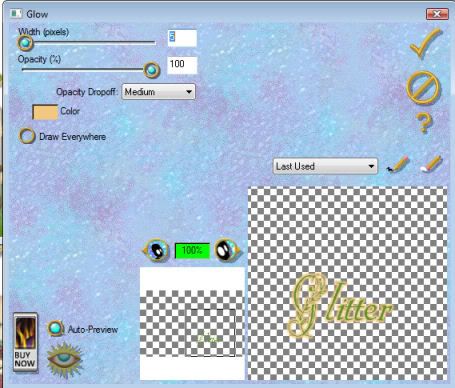
Type Hop into Spring and position to your liking. I used color 62942e and added a glow with f2c780 with a medium band. Chart below.
 Drop shadow all layers except for the paper layer. Merge visible, copy and paste as new image. Resize to your liking. Add copyright info.

Subscribe to:
Post Comments
(Atom)
A note
I remember what it was like when just starting out in Paint Shop Pro. There are lots of wonderful tuts out there, but most of them are for experienced taggers. It is hard to find a tut if you are a beginner, so I will try to write all my tuts so the beginner can learn and follow along. There will be lots of screen shots to make it easier on you. I apologize to the experienced taggers, but I think that it is good to help out the beginners all we can. Thanks for understanding.


0 comments:
Post a Comment